I focused on the closest bottle, I have used a red square to highlight the area of sharp focus in the image.
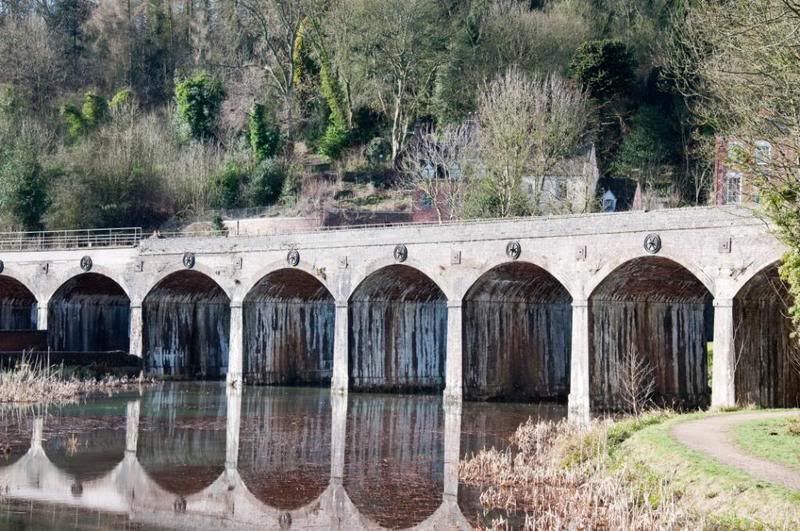
Photo 1:

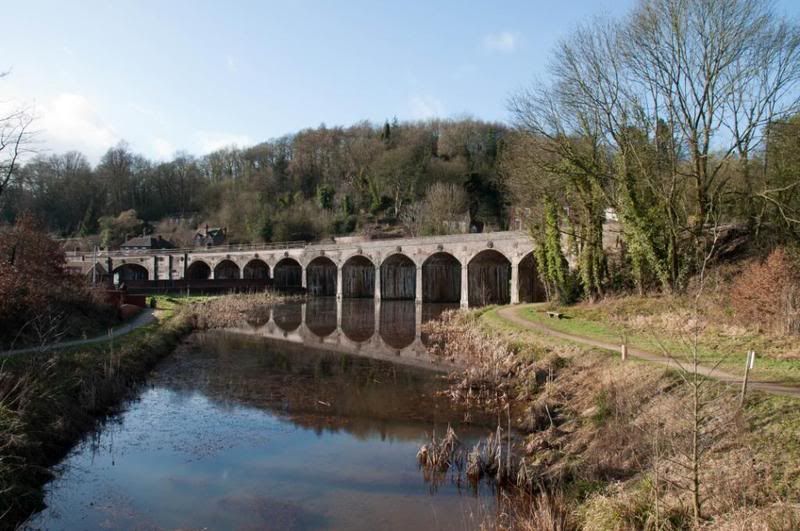
Photo 2:

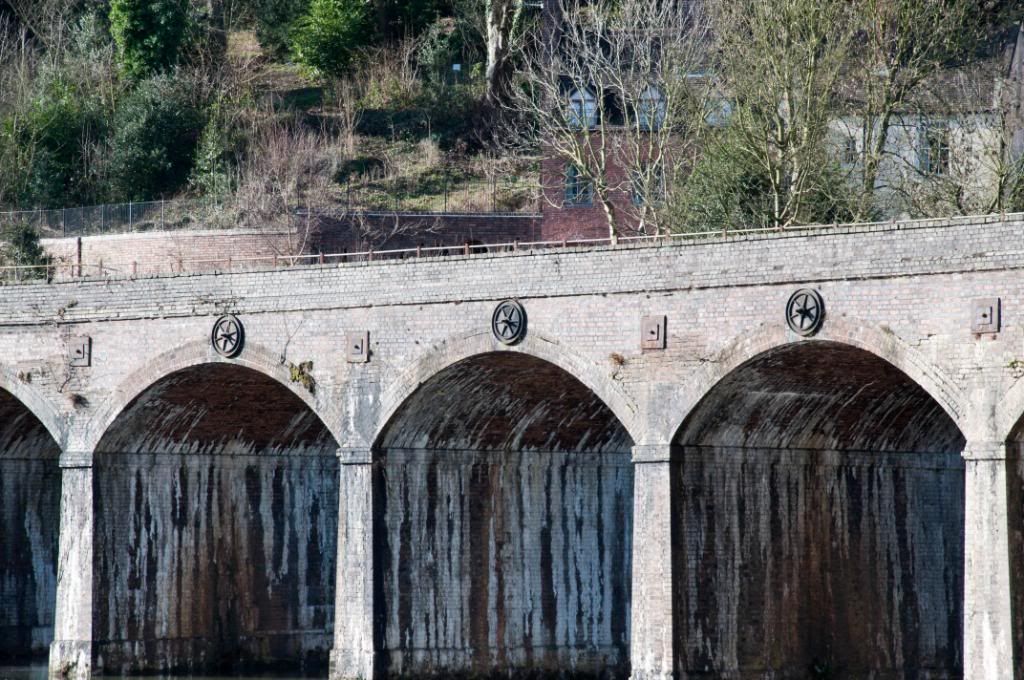
Photo 3:

From performing this exercise I can see that the aperture can have a dramatic effect on my image. Using the widest aperture (F/1.8) it has given a shallow depth of field with the background out of focus. This would be great for portraits, The mid point aperture (F/8) has given me a lot more of the image in focus but not all, this would be good for street photography, The smallest aperture (F/22) has given a deep depth of field with lots of detail from front to back of the image, all the image is in focus and would be great for landscapes.